Why won’t your digital photos ever look like film?

The problem every photographer knows:

You love the look of film. Those creamy skin tones, the soft transitions, the way highlights don't just blow out but roll off elegantly. Naturally, you've tried to recreate that digitally.

You bought preset packs. Watched YouTube tutorials. Spent hours tweaking local adjustments inside Lightroom.

Sometimes it worked. But never consistently. The colors were off, the highlights harsh, and every new lighting situation broke the look again.

At the same time, shooting film is becoming increasingly expensive. As a hybrid shooter who loves both film and digital, you need a way to give your digital images the same emotional depth and visual character - without burning through five rolls of Portra every weekend.

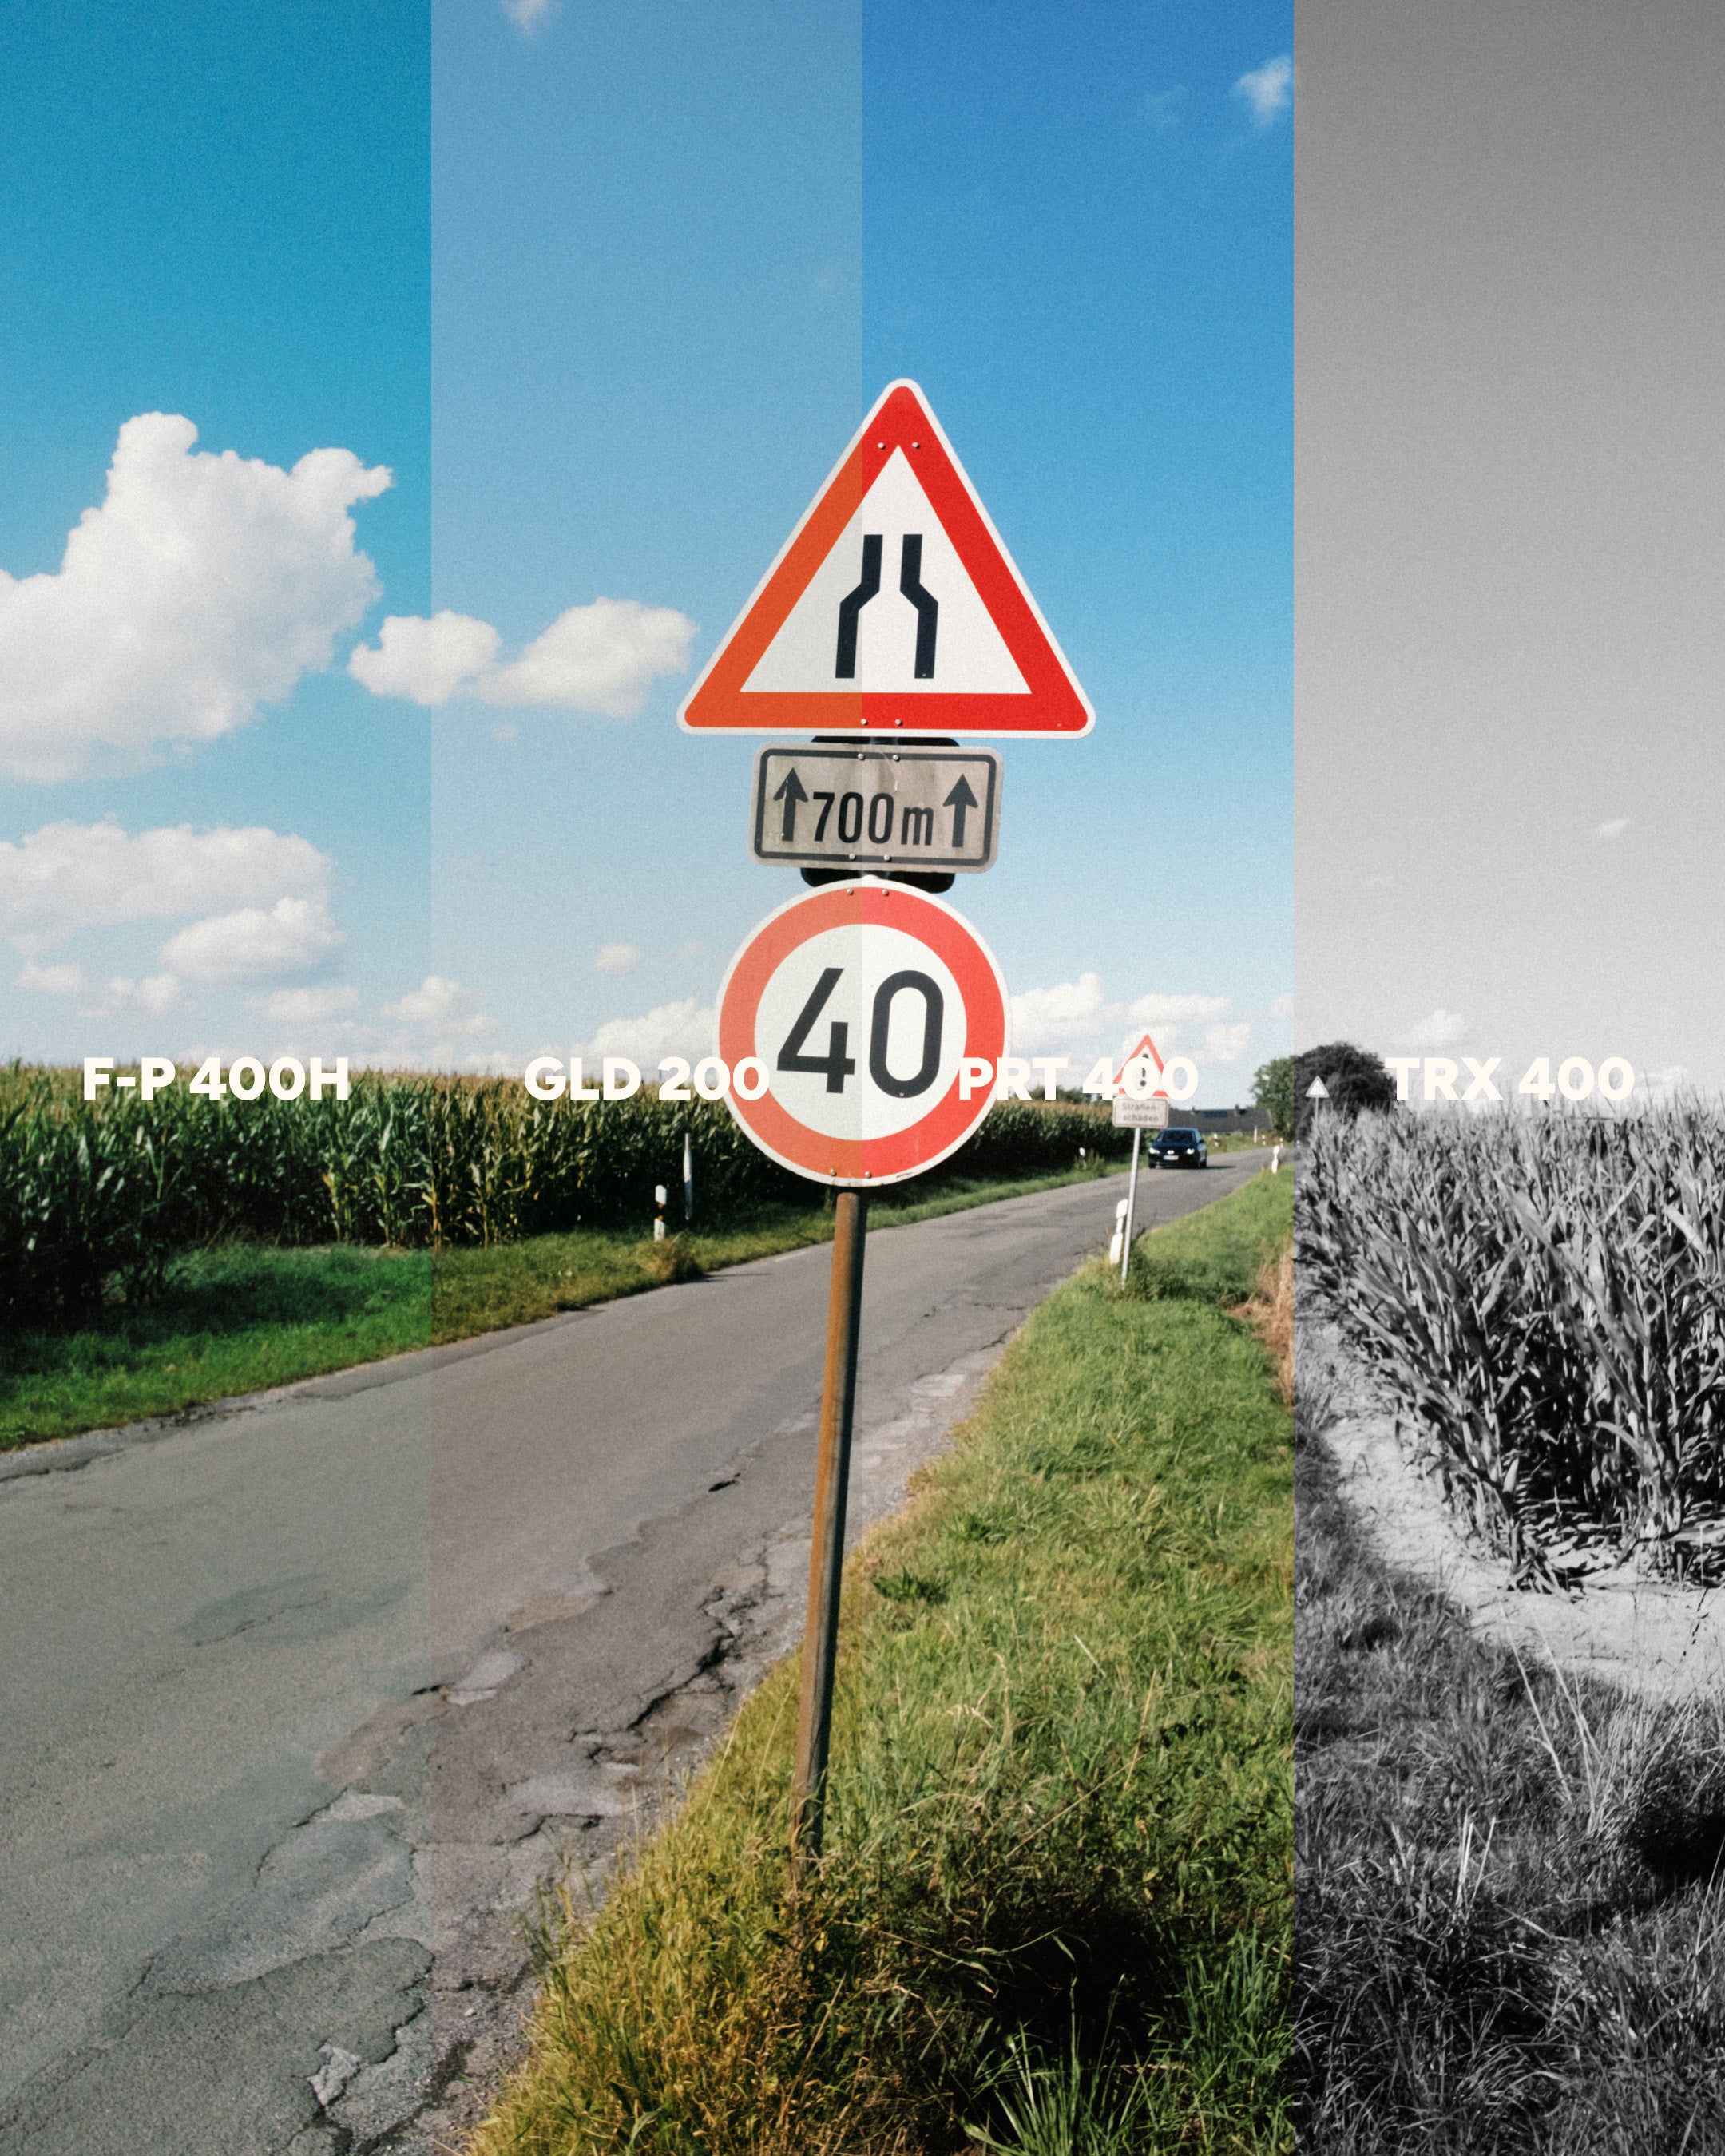
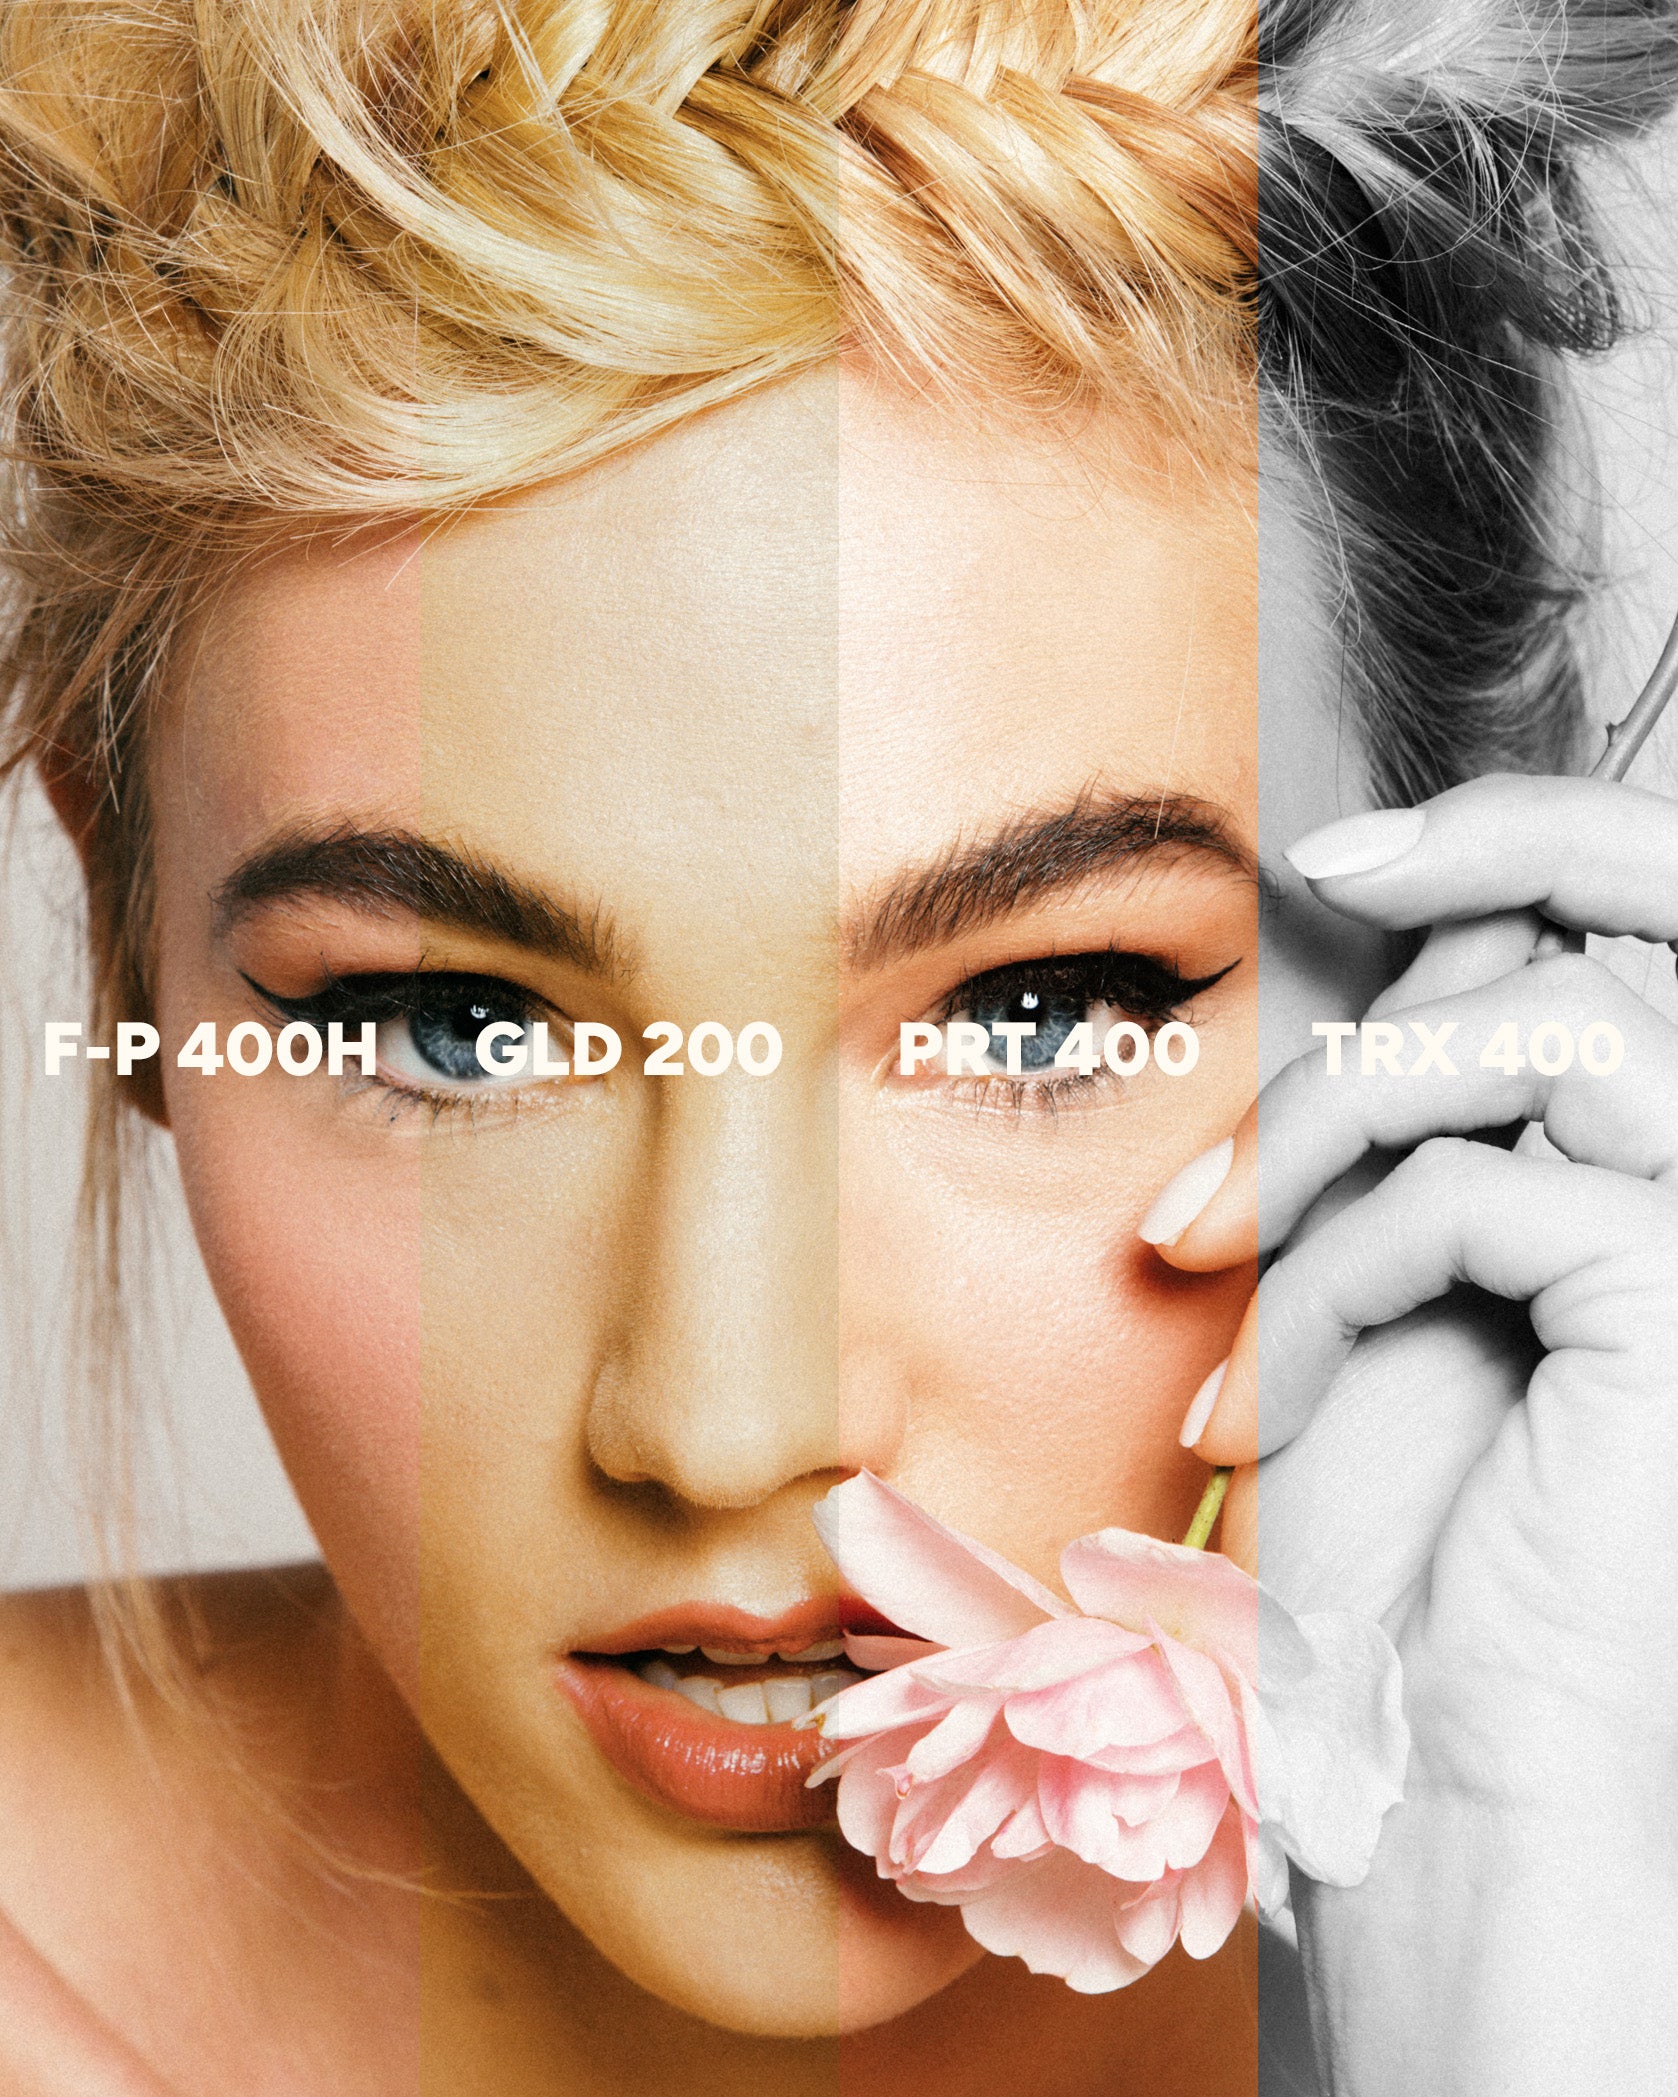
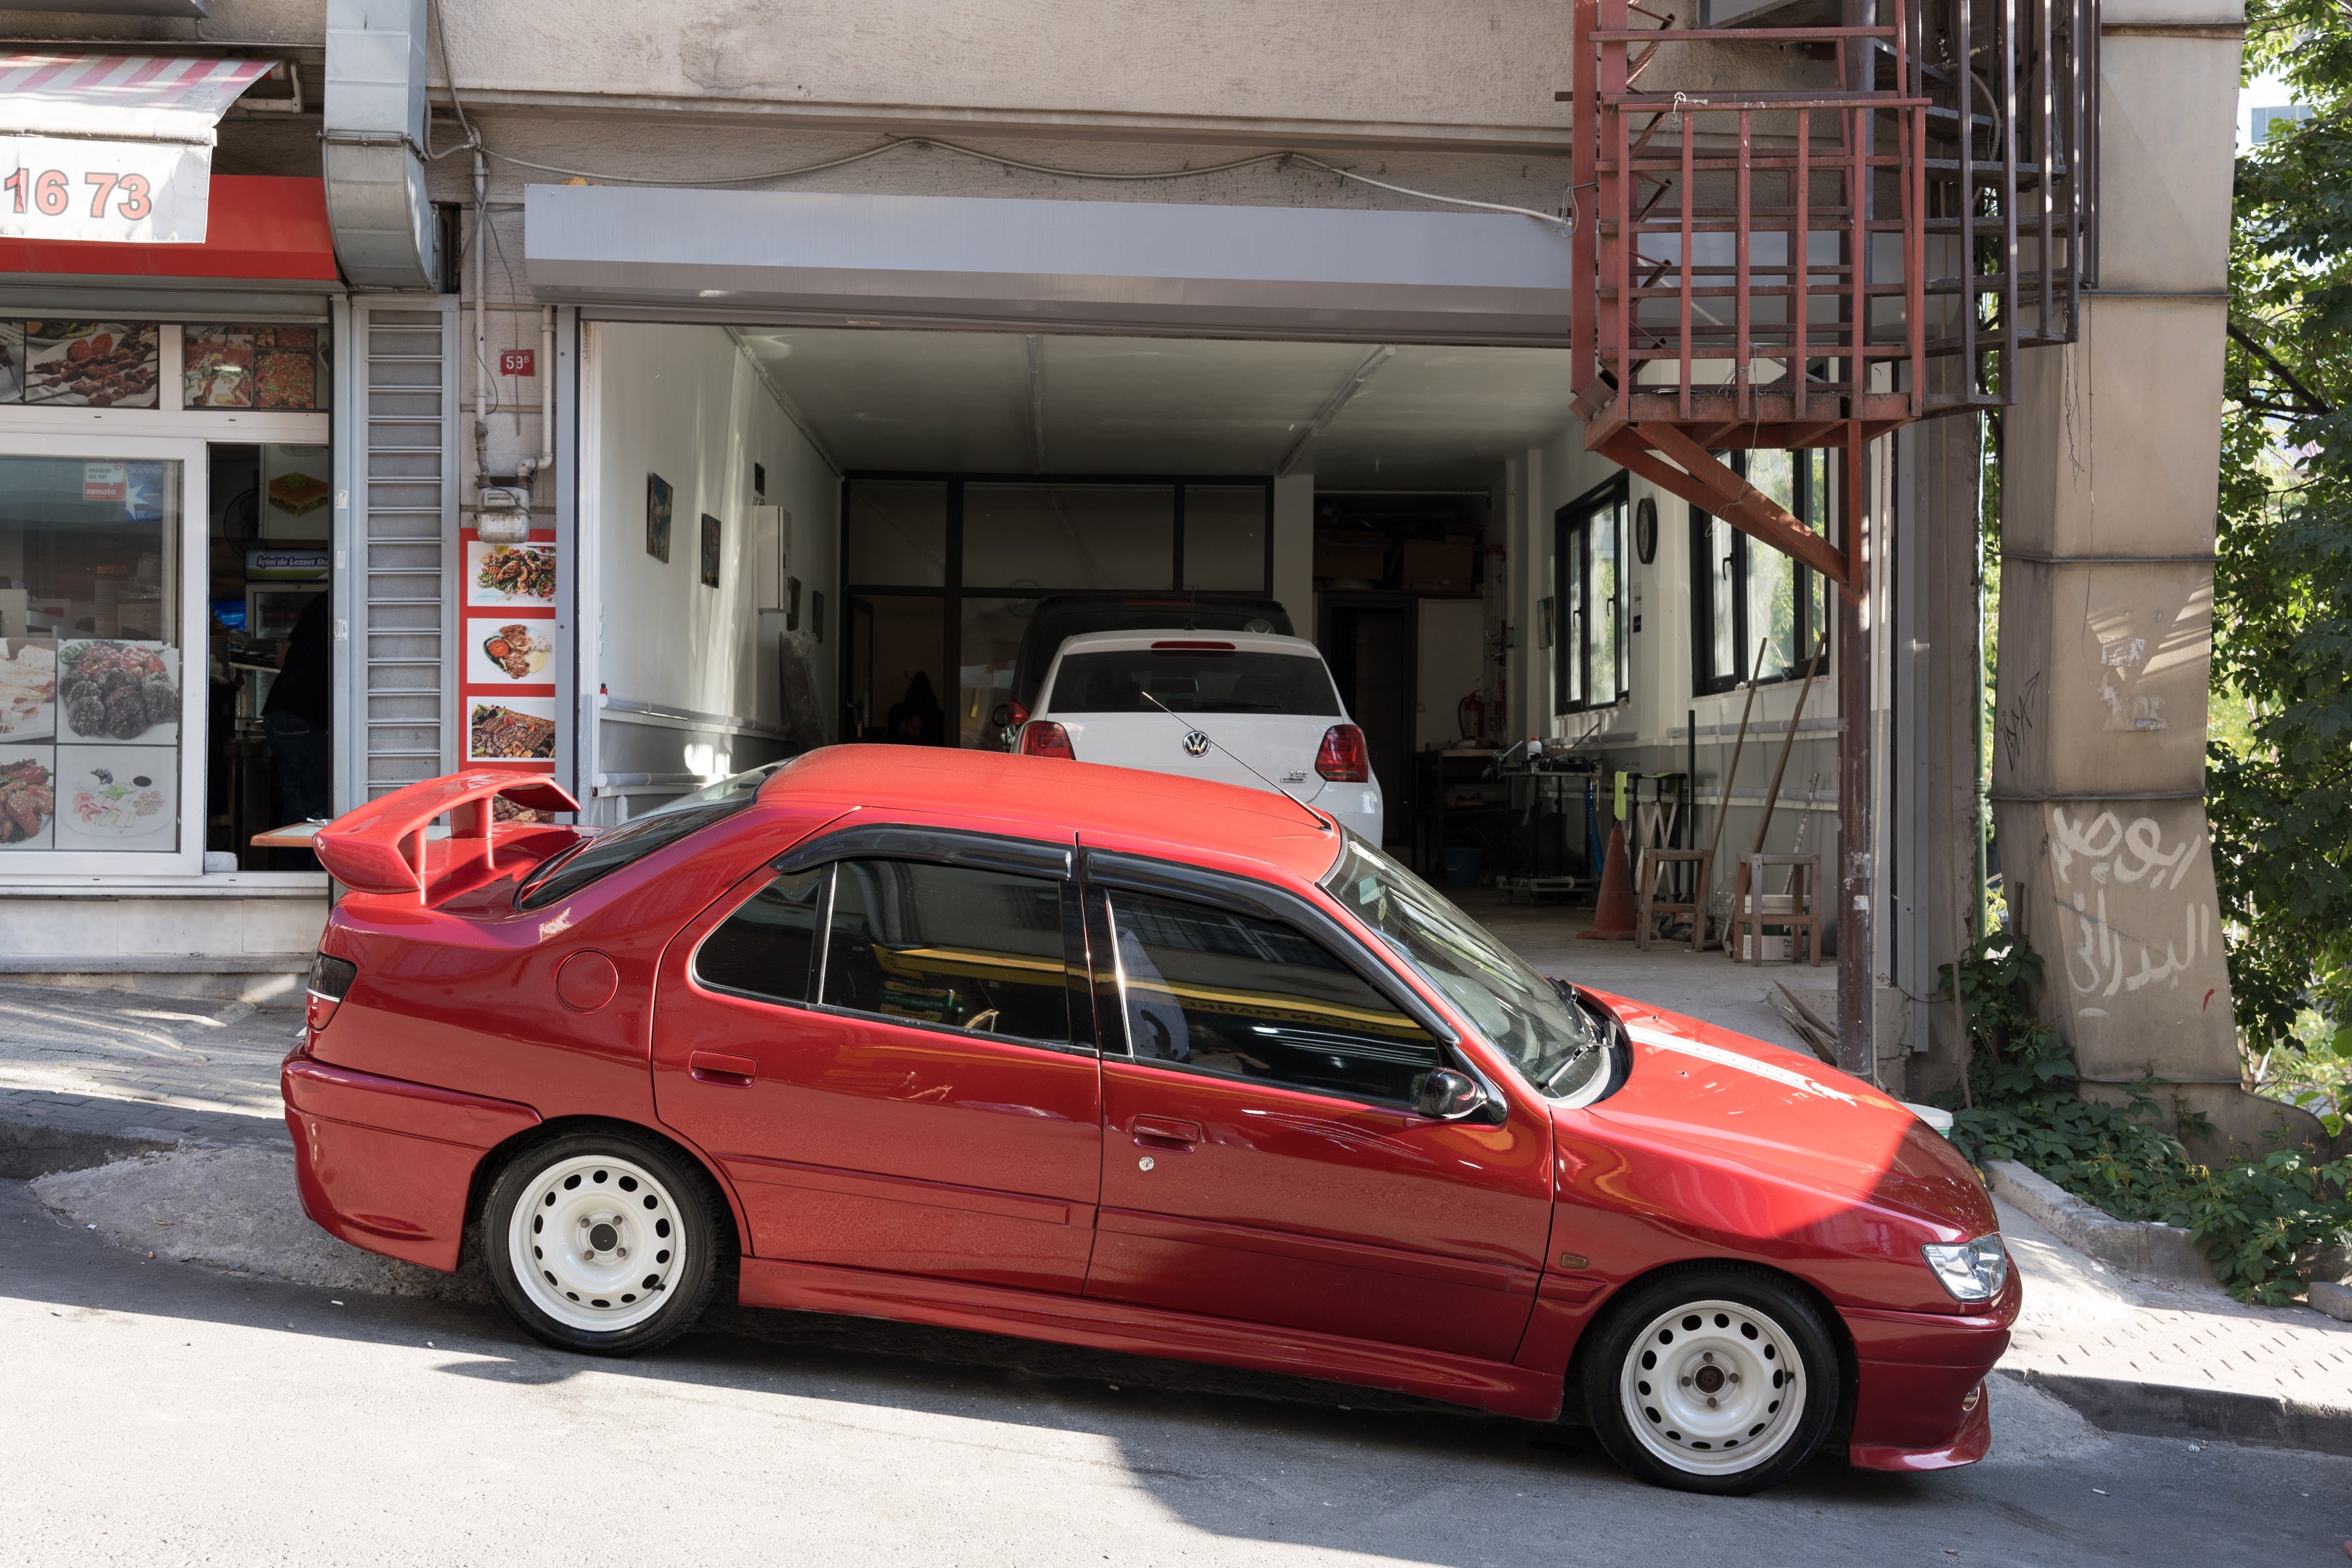
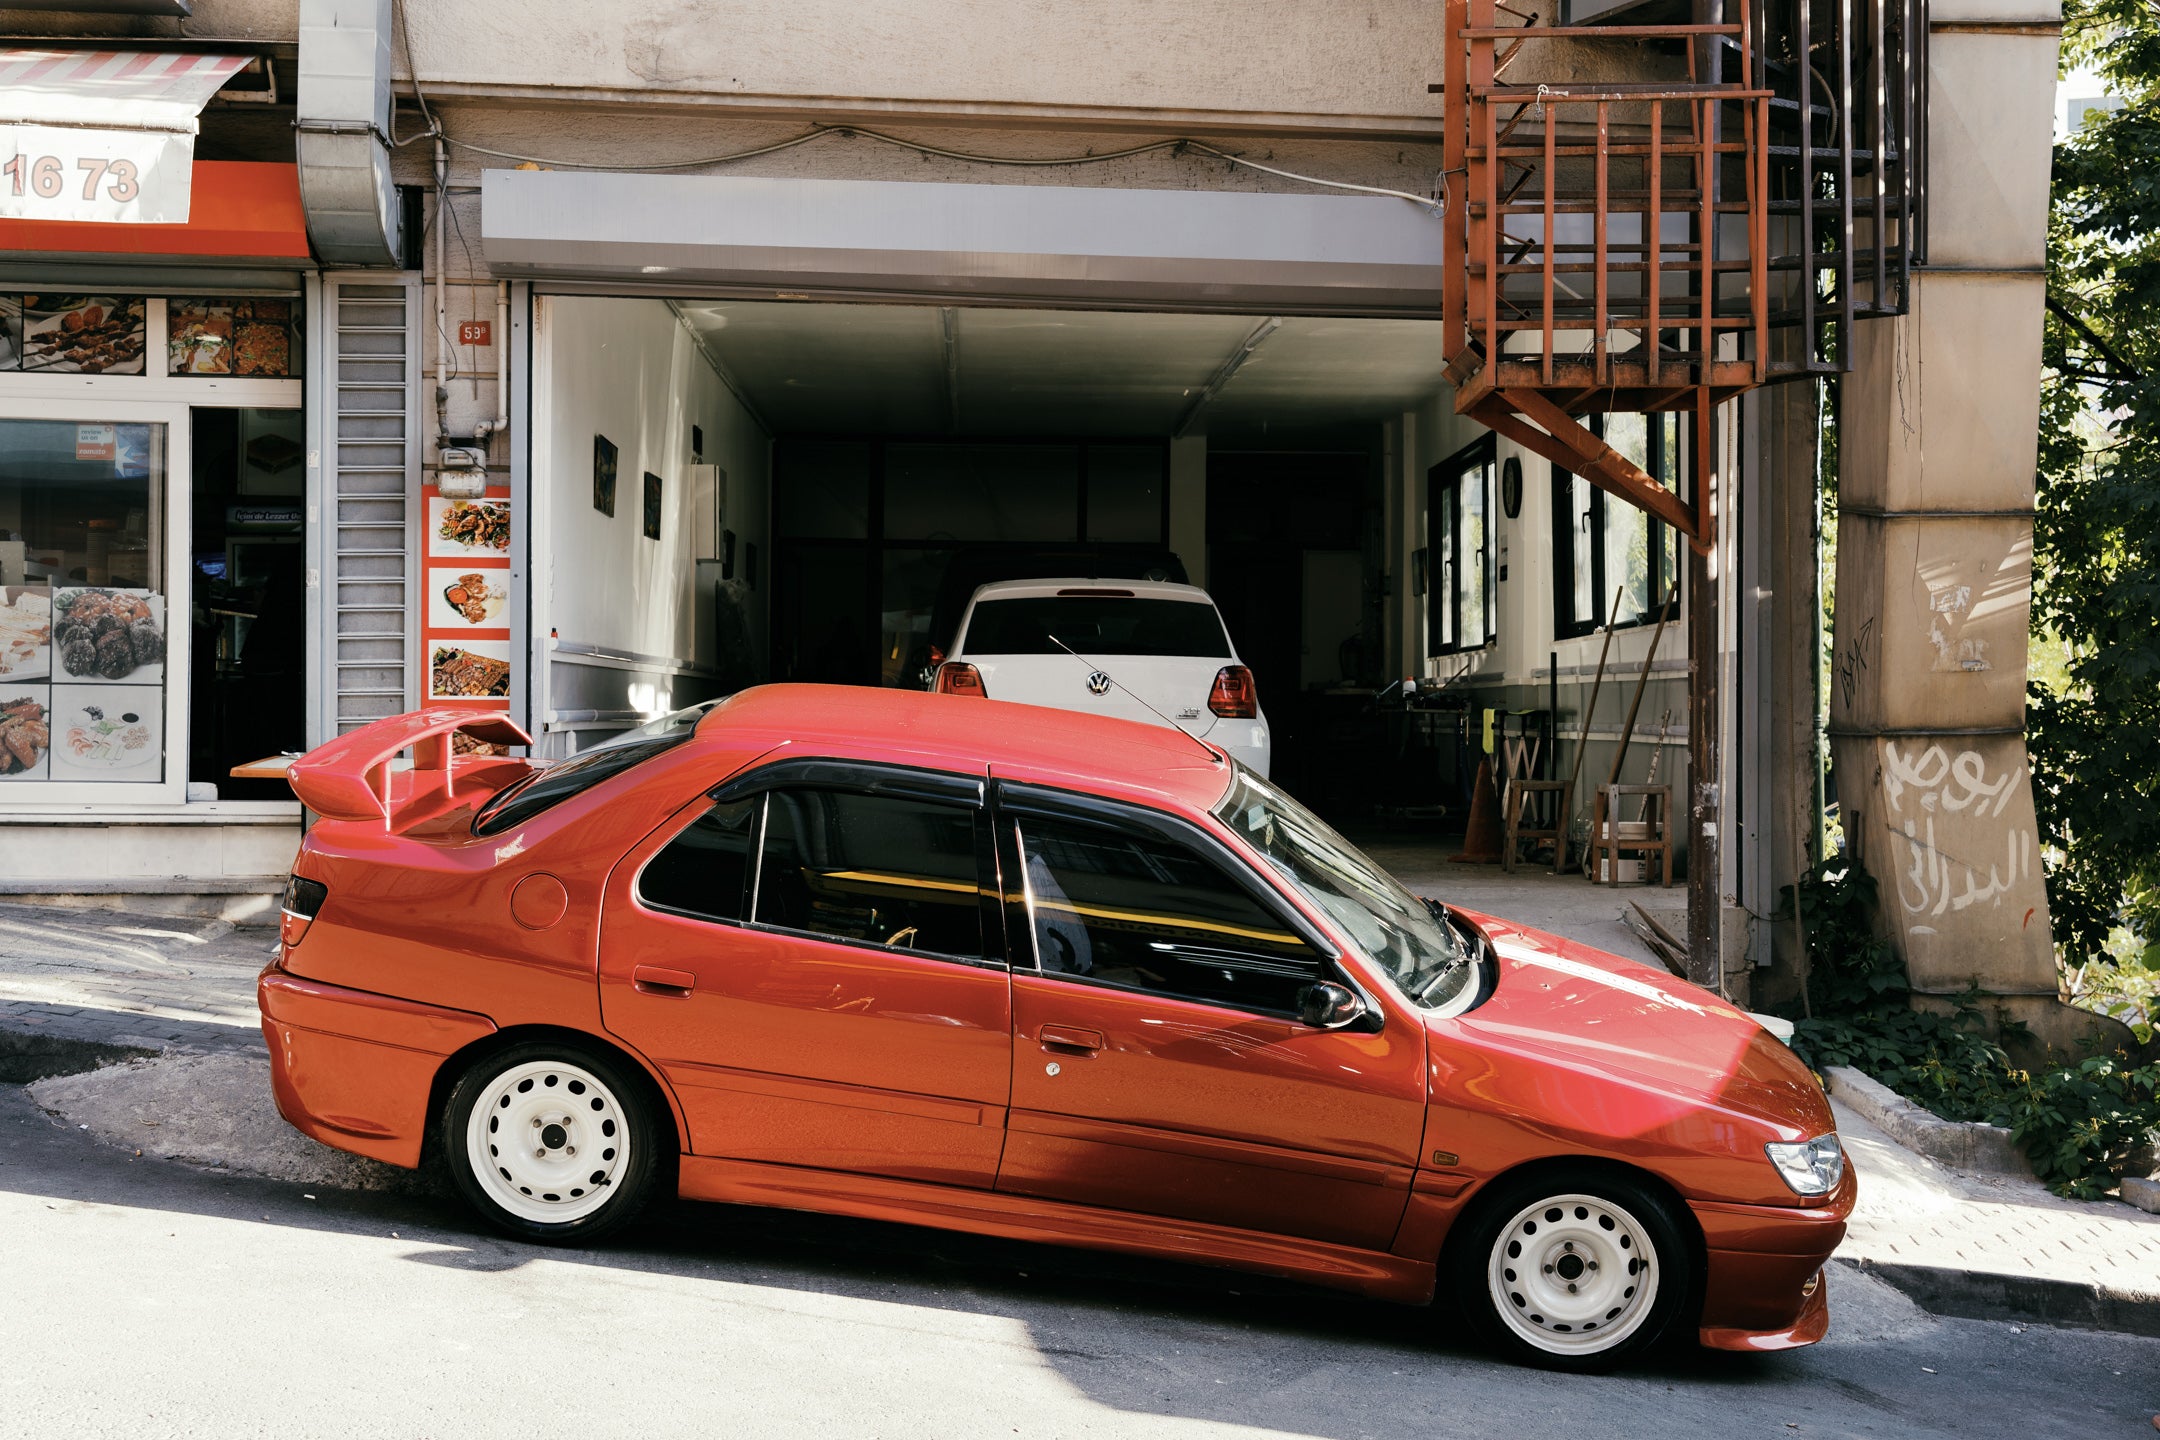
Note on Before/After Images

All edited images shown use only the Lumenary Film Profiles – with no additional grading or heavy adjustments. In some cases, minimal tweaks from the included Workflow Tools were applied (e.g. grain or subtle shadow recovery). Aside from that, no changes were made compared to the Adobe Standard version. What you see is the true character of the profile itself.

Adobe Standard
PRT 400
Shop now

1. Why presets don't work

Here's the problem with most "film presets":

They're just local adjustment slider combinations. They sit like a filter on top of an already processed image - usually based on Adobe Standard or Adobe Color. The image has already been interpreted. You're just correcting after the fact.

Real film emulation works differently.

Adobe Standard
PRT 400

2. The solution: LUT-based profiles instead of presets

In cinematography, film emulation has long been standard practice. Colorists use scientifically calibrated LUTs (Lookup Tables) to replicate film stocks across entire productions.

Why don't we have that in photography?

That question became a project. Instead of just studying film, I analyzed the entire system that gives film its iconic look: From the negative itself to the way scanners like the Fuji Frontier interpret tone and color.

The secret: It's the combination of film stock AND scanning process that creates the aesthetic we associate with film.

Adobe Standard
FP 400H
Shop now

3. Scientifically developed, not guessed

What I did:

  • Photographed ColorChecker charts on different 35mm film stocks
  • Had them scanned at a professional lab on a Fuji Frontier with clear instructions from myself
  • Created LUTs based on the Frontier scans that precisely map the tonal behavior of my favorite stocks: Kodak Portra 400, Kodak Gold 200, Fuji Pro 400H, Kodak Tri-X

The result: Profiles that "bake" these LUTs into RAW-compatible Lightroom profiles.

Adobe Standard
GLD 200

4. The difference from everything you know

Our profiles:

Don't move sliders - work on the linear RAW data

✓ Don't fight your workflow - non-destructive and adjustable

✓ Don't fall apart when light changes - consistent across all situations

Replace Adobe's default color interpretation with one based on real film

✓ Color accuracy ΔE ≤ 3.5 - measurably below the perception threshold

✓ Adobe RGB color space for maximum color depth and smooth transitions

Adobe Standard
GLD 200
Shop now

5. Who is this for?

You're in the right place if you:

  • Are a hybrid shooter needing look consistency between analog and digital
  • Work professionally or semi-professionally (portraits, weddings, editorial)
  • Are tired of preset experiments without real results
  • Edit series and projects that need a consistent look
  • Want to maintain control over your style without starting from scratch
Adobe Standard
PRT 400

6. The look of film. The control of digital.

What started as a side project became my daily tool. Now I'm ready to share it.

These profiles change how you think about digital color grading and bring the magic of film back into your digital world.

No compromises. No guesswork. Just real, filmic depth.

Adobe Standard
FP 400H
Shop now

7. Complete workflow tools for professionals

To make the editing process even smoother, I developed a full set of workflow presets: a modular toolkit of local adjustments designed specifically for Lightroom. These tools let you fine-tune tone, color, and grain in seconds without disrupting the filmic base of the profile.

What's included:

🅐 Tone Adjustments - Quickly soften contrast, recover highlights, or lift shadows with a single click.

→ Perfect for adapting profiles to different lighting situations.

🅑 Color Adjustments - Shift highlight and shadow hues subtly – ideal for fine-tuning skin tones or bringing warmth back into harsh light.

→ Inspired by traditional darkroom color balancing.

🅒 Film Grain Options - Apply beautiful, natural grain in three intensities with a dedicated base layer to avoid digital sharpening artifacts.

→ Create texture that feels like film, not synthetic overlays.

🅓 Creative Tweaks - Add a pastel lift when you want to push the aesthetic slightly further without breaking the profile's neutrality.

Adobe Standard
TRX 400

8. What you get: Complete film emulation system

Four legendary film stocks, three distinct profiles for each film:

✓ Kodak Portra 400
✓ Kodak Gold 200
✓ Fuji Pro 400H
✓ Kodak Tri-X

Plus comprehensive workflow tools:

  • 8 Tone Adjustment presets
  • 7 Color Adjustments presets
  • 5 Film Grain presets
  • 1 Creative Tweak presets
Adobe Standard
PRT 400
Shop now